Learn more about "The specified service does not exist as an installed service"
"The specified service does not exist as an installed service" error message usually pops up when users try to open or install some programs such as ConfigMgr and Microsoft. NET Framework. If you are seeing popping up, it may mean that your PC has been infected by malicious threats like Trojan, which leads to the corruption of the MSI software update registration or the software installation on the computer.
This is dangerous especially when you have confidential data stored on the compromised computer as it can be exploited easily if you don't remove such malicious threats timely. Therefore, it is strongly advisable to fix "The specified service does not exist as an installed service" right away to avoid serious damages.
Effective method on resolving "The specified service does not exist as an installed service" - Go and try it!
A: Manual Removal
Important Note: This manual removal method contains methods to modify the registry. Please back up the registry before you modify it in case a problem occurs.
1. Perform a clean boot
A clean boot helps eliminate software conflicts. Let us check if any software is causing the issue by following the clean boot procedure.
For Windows 8.1 and Windows 8 users:
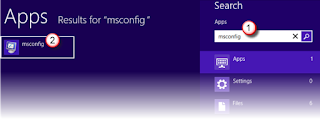
1) Swipe in from the right edge of the screen, and then tap Search. Or, if you are using a mouse, point to the lower-right corner of the screen, and then click Search.
2) Type msconfig in the search box, and then tap or click msconfig.
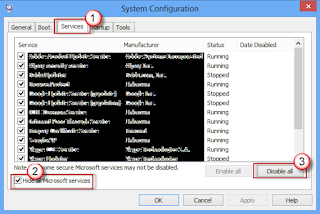
3) On the Services tab of the System Configuration dialog box, tap or click to select the Hide all Microsoft services check box, and then tap or click Disable all.
4) On the Startup tab of the System Configuration dialog box, tap or click Open Task Manager.
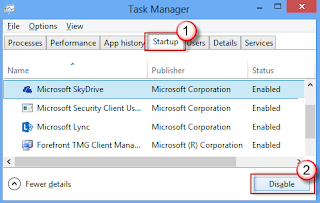
5) On the Startup tab in Task Manager, for each startup item, select the item and then click Disable.
6) Close Task Manager.
7) On the Startup tab of the System Configuration dialog box, tap or click OK, and then restart the computer.
For Windows 7 and Windows Vista users:
1) Log on to the computer by using an account that has administrator rights.
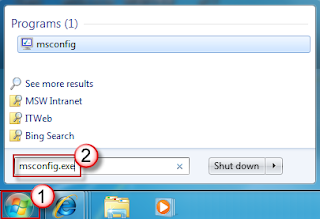
2) Click Start, type msconfig.exe in the Start Search box, and then press Enter to start the System Configuration utility.
3) On the General tab, click the Selective startup option, and then click to clear the Load startup items check box.
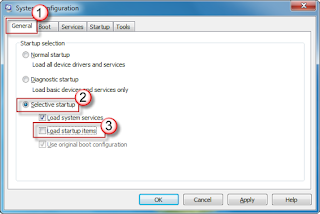
4. On the Services tab, click to select the Hide all Microsoft services check box, and then click Disable all. (Do not do this if you want to use the System Restore utility together with existing restore points.)
5) Click OK, and then click Restart.
2. Put the computer back to the Normal mode after checking the issue
For Windows 8.1 and Windows 8 users:
1) Swipe in from the right edge of the screen, and then tap Search. Or, if you are using a mouse, point to the lower-right corner of the screen, and then click Search.
2) Type msconfig in the search box, and then tap or click msconfig.
3) On the General tab, tap or click the Normal Startup option.
4) Tap or click the Services tab, clear the check box beside Hide all Microsoft services, and then tap or click Enable all.
5) ap or click the Startup tab, and then tap or click Open Task Manager.
6) In task manager, enable all of your startup programs, and then tap or click OK.
7) When you are prompted to restart the computer, tap or click Restart.
For Windows 7 and Windows Vista users:
1) Click Start, type msconfig.exe in the Start Search box, and then press Enter.
2) On the General tab, click the Normal Startup option, and then click OK.
3) When you are prompted to restart the computer, click Restart.
3. Uninstall or update the program which is causing the issue
1) Press Win+R to open Run box.
2) Type regedit and press enter.
3) Go to the location:
HKEY_LOCAL_MACHINE\System\CurrentControlSet\Control\Class\{4D36E967-E325-11CE-BBBFC1-08002BE10318}
4) Delete the LowerFilters value in the right panel. If there are also some sub keys such as 0000, 0001 under the key, please double click them and delete the LowerFilters value.
5) Restart the computer and check if the issue persists.
B: Automatic Removal
1. Remove existing viruses with SpyHunter
What can SpyHunter do for you?
- Give your PC intuitive real-time protection
- Detect, remove and block spyware, rootkits, adware, keyloggers, cookies, trojans, worms and other types of malware
- Spyware HelpDesk generates free custom malware fixes specific to your PC
- Allow you to restore backed up objects
Here shows how it works:
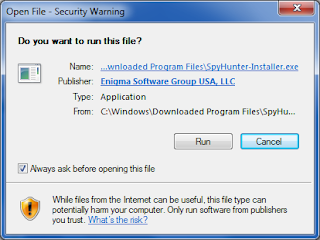
1) Free download SpyHunter by clicking on the below button.

2) Click the "Run" button to enter the setup program and follow the installation steps until setup is complete.

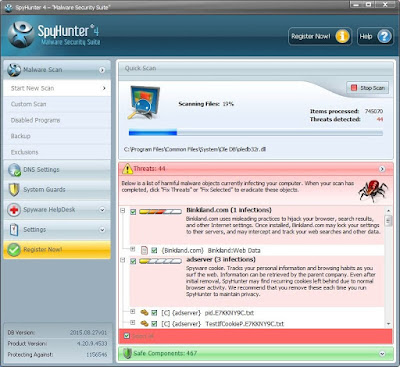
4) Allow the program to scan by clicking the "Scan Computer Now!" button. We recommended you to have a full scan on your PC, please uncheck the "Quick Scan" box.
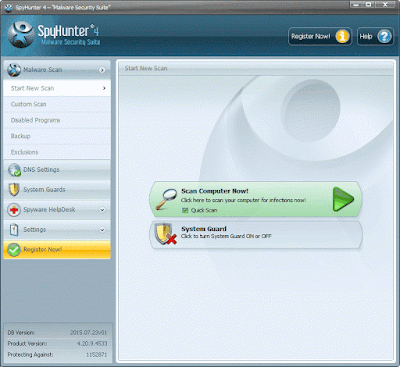
The first scan will take some time, please be patient while waiting for the scanning result.
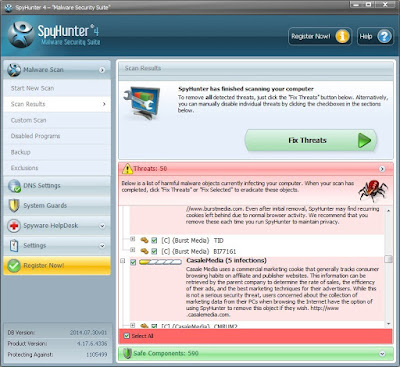
5) After the scan is done, you can see that all threats are successfully detected. Check the "Select All" box and then click the "Fix Threats" button to fix all threats in your PC.
2. Fix system error by Using RegCure Pro
What can RegCure Pro do for you?
- Fix system errors
- Remove malware
- Improve startup
- Defrag memory
- Clean up your PC
Here shows how it works:
1) Free download RegCure Pro by clicking the below button.

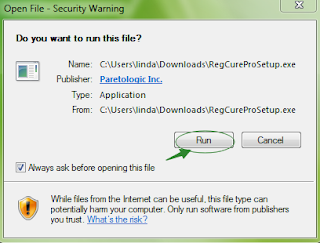
2) Click the "Run" button to enter in installation process and then follow the instruction to install the program step by step.
1) Free download RegCure Pro by clicking the below button.
2) Click the "Run" button to enter in installation process and then follow the instruction to install the program step by step.
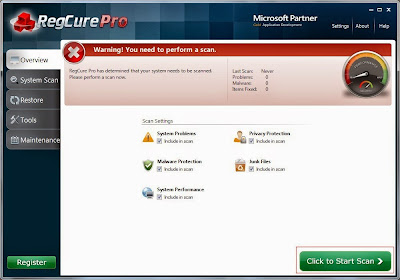
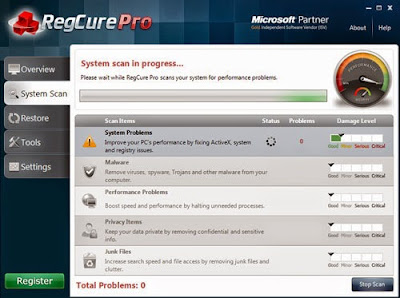
3) When the program is successfully installed, double click on its desktop shortcut to open it. On the Overview tab, check all the scan settings and then click on the "Click to Start Scan" button to run a system scan on your computer.
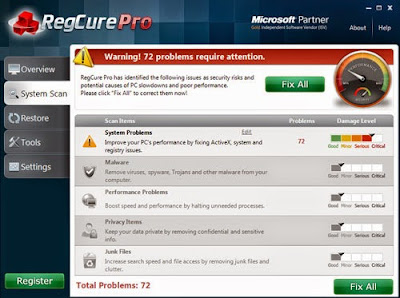
5) When the system scan is done, click on "Fix All" button to completely remove all the performance problems in your computer.
In Conclusion:
"The specified service does not exist as an installed service" will make your computer more vulnerable to other computer infections. Thus,
you are strongly recommended to adopt effective way to get rid of the issue immediately before further damages.
Download SpyHunter to prevent or remove any malicious threats!
Download SpyHunter to prevent or remove any malicious threats!
Download RegCure Pro to fix "The specified service does not exist as an installed service" error!
Good Luck and be safe online.
Note: The free versions of SpyHunter and RegCure Pro are only for detection. If they detect unwanted things on your PC, you will need to purchase their removal tool to remove the malicious threats or entries.
No comments:
Post a Comment